
· Por Angie Mok
How to do pull-ups correctly
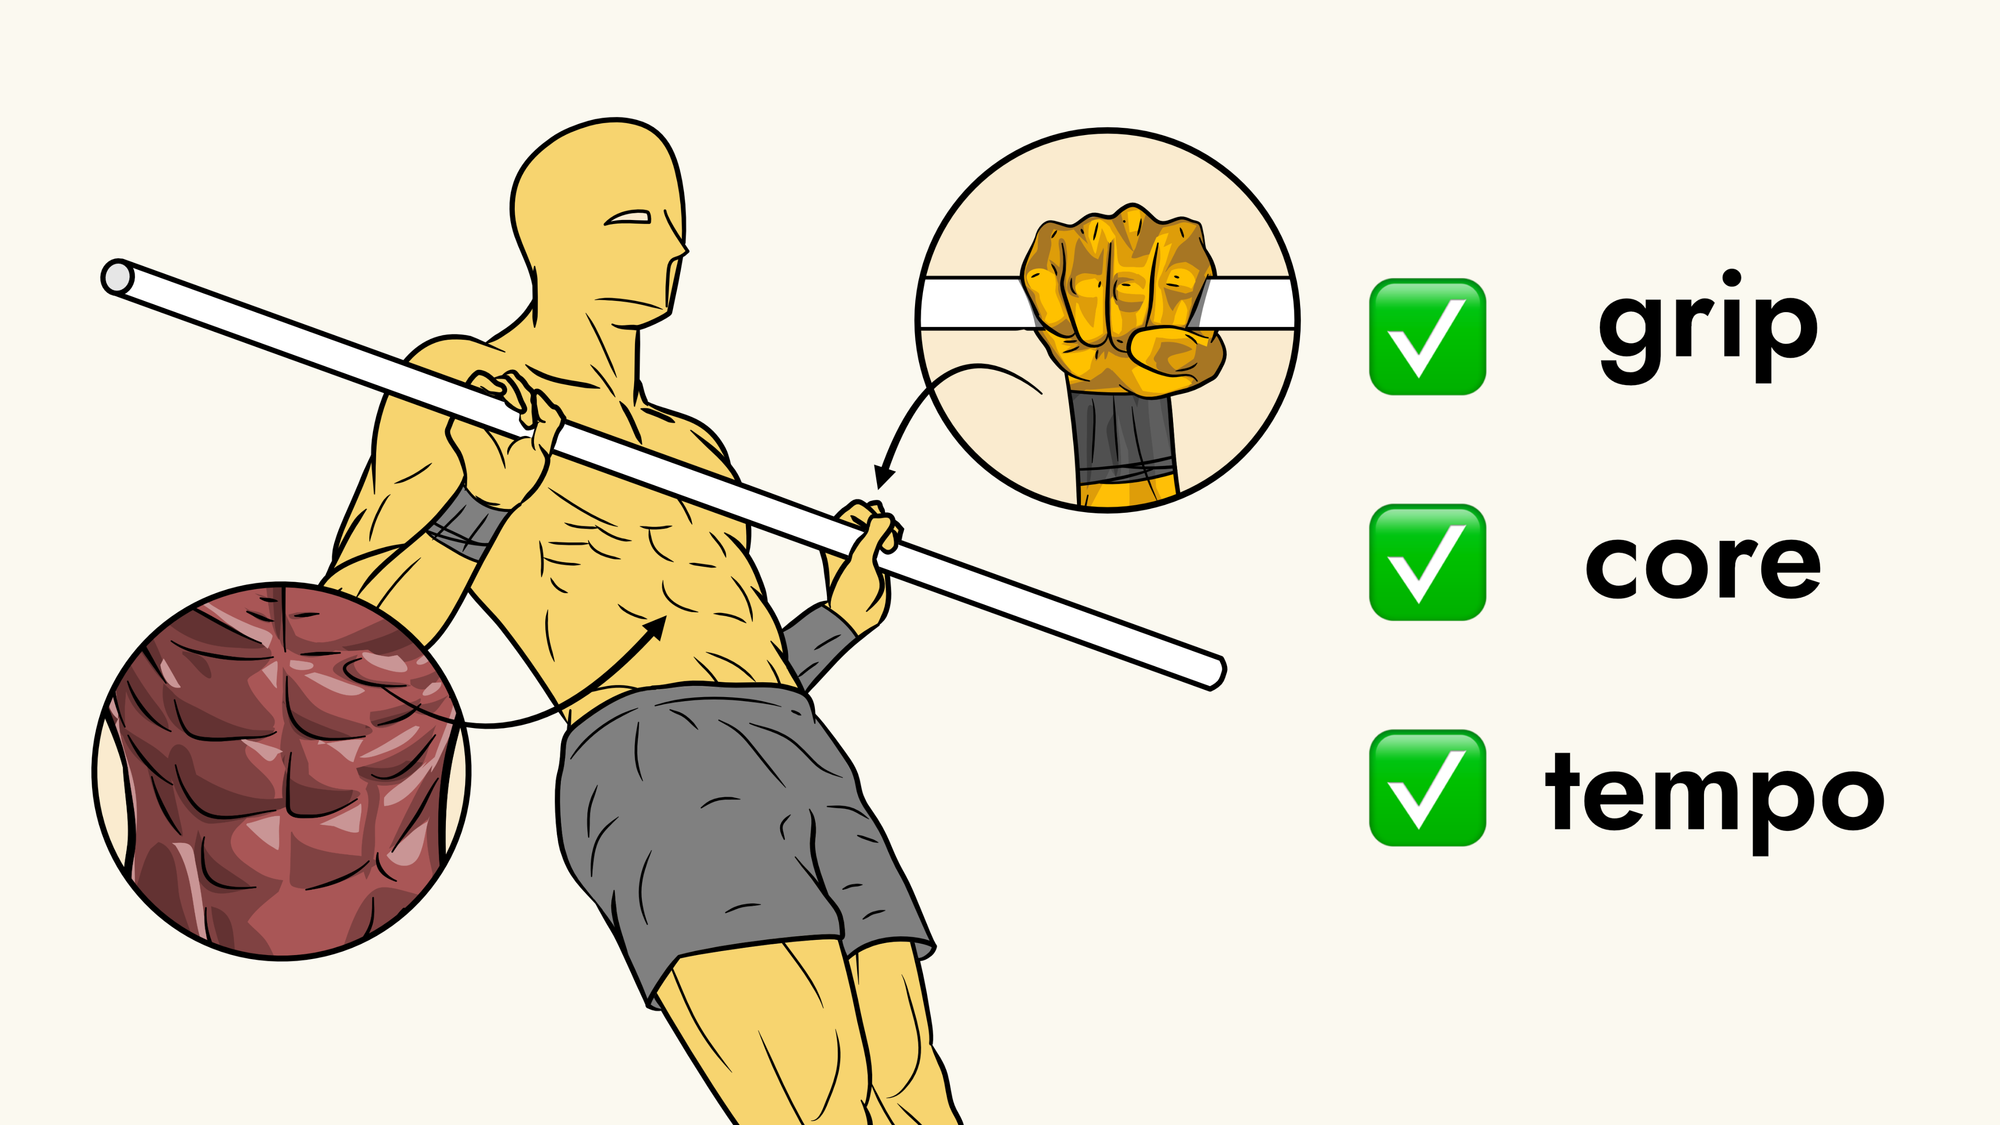
Learn the right way to grip the bar for stronger, safer pull-ups
Discover how to engage your core and shoulders for maximum power
Fix the 3 most common pull-up mistakes holding back your progress
Find out what to do if you can’t do a pull-up yet
Table of contents
Why form matters in pull-ups Step one: Grip the bar Step two: Hang with intention Step three: Pull-up Step four: Control the descent Step five: Engage your core and legs 3 common pull-up mistakes (and how to fix them) Mistake #1: half reps Mistake #2: Using momentum Mistake #3: Shrugged shoulders Can’t do a pull-up yet? Start here Form is more important than reps
Why form matters in pull-ups
Pull-ups aren’t just another back exercise. They’re a gold standard of upper-body strength. But here’s the truth: most people are doing them wrong. Sloppy reps, half pulls, swinging legs will kills your progress and even make yourself injure. If you want real strength, cleaner reps, and visible results, it starts with mastering the basics.
Step one: Grip the bar
Everything starts with the grip. Grab the bar shoulder-width apart with your palms facing away. Wrap your thumbs around tight. This isn’t a lazy hang, but it’s not a death grip either.
Too wide? You’ll cut your range of motion. Too narrow? Your shoulders will let you know. Keep it simple: shoulder-width, secure, and locked in.
You can also switch things up with grip variations once you master the basics. A chin-up grip (palms facing toward you) shifts more work to the biceps, while a neutral grip (palms facing each other) is easier on the shoulders and elbows. These variations don’t replace the standard pull-up, but they’re excellent accessories that help build strength across the upper body.

Step two: Hang with intention
This isn’t just hanging around. Arms straight, body still, but your muscles stay active. Pull your shoulders down and back slightly. That’s your scapular setup. Think of it as the foundation before you pull.
This setup protects your shoulders and keeps your lats engaged. Too many beginners skip this and end up shrugging their way through reps, which limits strength and risks injury.

Step three: Pull-up
Here’s where most people cheat. Don’t just sneak your chin over the bar. Pull your chest toward it. Elbows drive down and in, not out like chicken wings. Stay tight and controlled. Think of pushing the bar down instead of pulling yourself up. Aim for two seconds up. No shortcuts, no jerks.
If two seconds feels slow, you’re doing it right. This is about building muscle and strength, not racing the clock. Think “smooth and strong,” not “fast and sloppy.”

Step four: Control the descent
The way down is just as important as the way up. Lower yourself slowly, three seconds down. Don’t just drop. This is where strength builds. Lock out your arms fully at the bottom. If you’re cutting the range, you’re cutting your gains.
Controlled descents also help prevent elbow and shoulder strain. Over time, this “eccentric strength” is what allows you to crank out more reps with cleaner form.

Step five: Engage your core and legs
Your lower body sets the tone. No swinging, no kicking. Keep your legs straight or slightly bent, toes pointed, glutes on, and core tight like you’re bracing for a punch. A clean pull-up is a full-body movement, not just arms and back.
Think of your body as one solid unit. If your feet are flailing, your power leaks. Stay locked in and you’ll not only look stronger but perform better too.

3 common pull-up mistakes (and how to fix them)
Even if you’re training hard, these 3 mistakes might be holding you back.
- Half reps
- Using momentum
- Shrugged shoulders
Mistake #1: half reps
Stopping halfway isn’t a pull-up. Go from a full dead hang to chest-to-bar (or at least chin over). Full range, every rep.

Mistake #2: Using momentum
If you’re kicking, jerking, or praying your way up, you’re cheating. Fix it with tempo: two seconds up, three seconds down. No bouncing.

Mistake #3: Shrugged shoulders
If your traps are creeping toward your ears, you’ve skipped scapular engagement. Start every pull with shoulders down and back. That activates your lats and gives you real pulling power.

Can’t do a pull-up yet? Start here
No worries. Everyone starts somewhere.
- Negatives: Jump or step to the top, then lower slowly for 3–5 seconds.
- Band-assisted pull-ups: Use resistance bands to practice form, not to skip the work.
- Bodyweight rows: Pull from a low bar with a straight body. Same rules: tight form, full control.
Over time, these build the exact strength you need for your first clean pull-up.

Form is more important than reps
One perfect pull-up beats ten sloppy ones every single time. Record yourself, be honest, and focus on one fix at a time. Start with grip, then scapula, then tempo. Don’t try to “renovate” your form all at once. Progress comes step by step.
Want faster results? Check out our video guide on how to double your pull-ups in just 30 days. It breaks down a proven progression plan and weekly structure to help you build strength safely while maximizing reps.
Yellow Dude Team
Yellow Dude teaches people how to get strong using their body weight. His style is simple - anyone can follow along and learn.
You can spot him by his yellow skin, fit body, and perfect form. He helps people learn bodyweight exercises, from basic moves to hard skills.
When he's not showing proper workout form, he makes funny memes about training and gets people excited about calisthenics.


If you’re serious about building strength with bodyweight training, check out our Calisthenics Playbook. It’s a detailed guide that covers the three core movements every athlete should master pull-ups, push-ups, and squats along with progressions for all levels.It gives you a clear roadmap to follow without the guesswork.
Compartir:
1 comentario
-
How to Choose Assisted Pull-Ups Resistance Bands
What is the desired length?nat el
